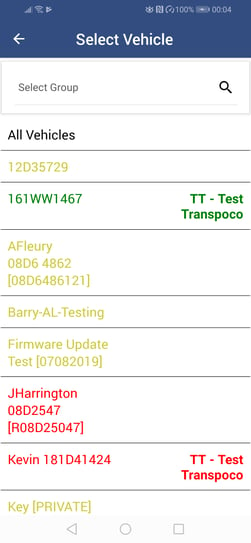
How to enable the view/change custom' status option for the vehicles in the Synx Manager App
Note: In order to be able to view and change a vehicle’s status, the option to do this must first have been enabled in your user profile.
Note: Only users with sufficient permissions can edit user profiles.
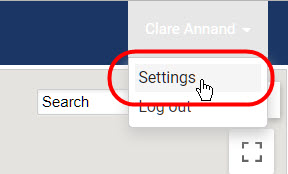
Click on your user account name on the far right of the tabbed menu bar.
Click on Settings.
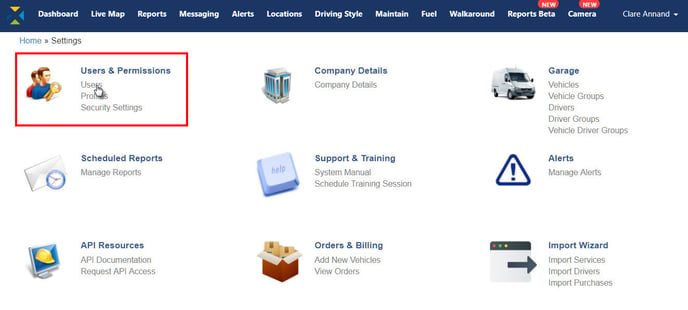
To check which profile has been assigned to you / the user, click on ‘Users’ under Users & Permissions in the Settings menu.
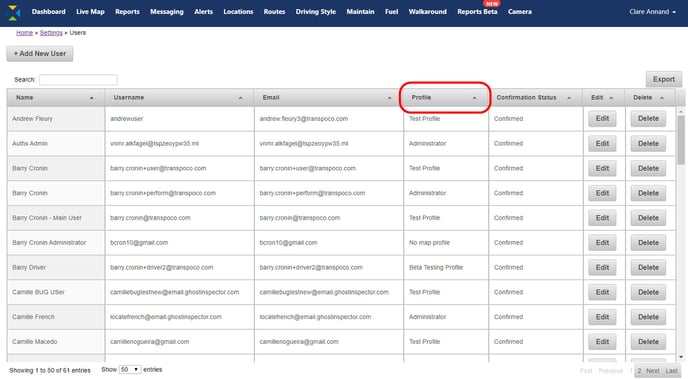
Scroll down the list of users to find the assigned profile.
Click on Settings in the navigation breadcrumbs, or click on your browser’s back button.
Click on ‘Profiles’ under Users & Permissions in the Settings menu.
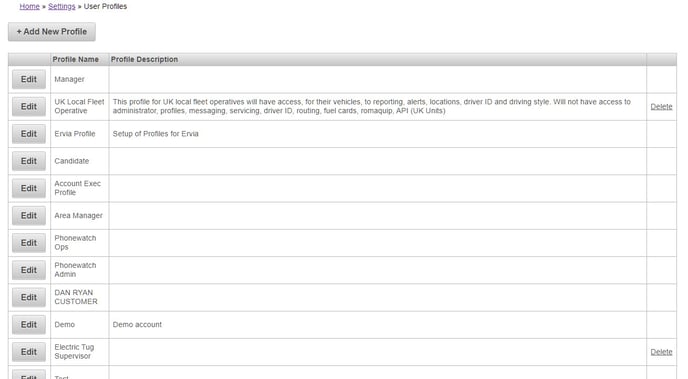
Find the required profile in the list and click on the Edit button.
.jpg?width=688&name=Update%20user%20profiles%20-%20modules%20(some%20off).jpg)
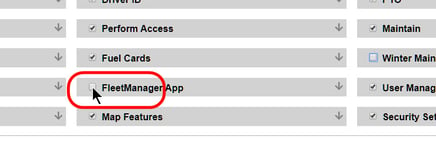
In the Modules tab, check the ‘FleetManager App’ box if not already checked.
Click on the down arrow for ‘Live Map’.
Check both boxes for ‘Access to view/edit vehicles custom status’ if not already checked.
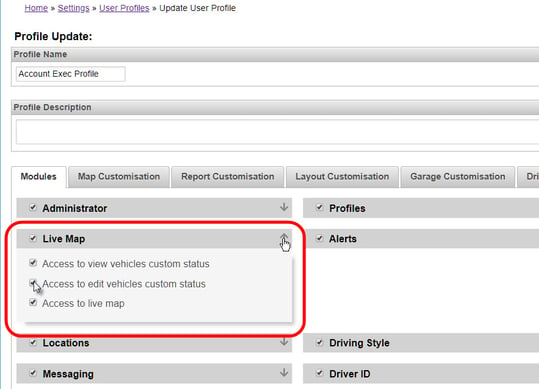
Click the up arrow to close the box.
The vehicle status will now be available in the Fleet Managers App – for individual vehicles on the live map and in the list of vehicles.
To view the status of a vehicle on the live map, touch the vehicle on the map.
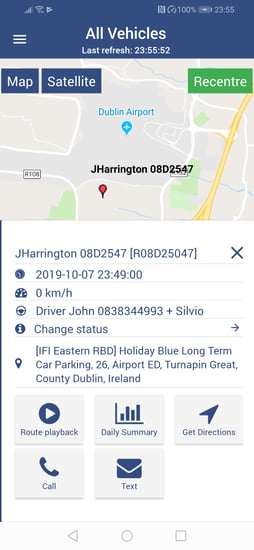
Tap on Change status and select a status from the list.
To see the status of all vehicles which have a status assigned, tap on Select Vehicles from the live map.
NOTE: The colour of the vehicle name denotes its current engine status: Green – vehicle has its engine on; Red – vehicle has its engine off; and Yellow – vehicle is not sending data updates.
